
1. Download MinGW.
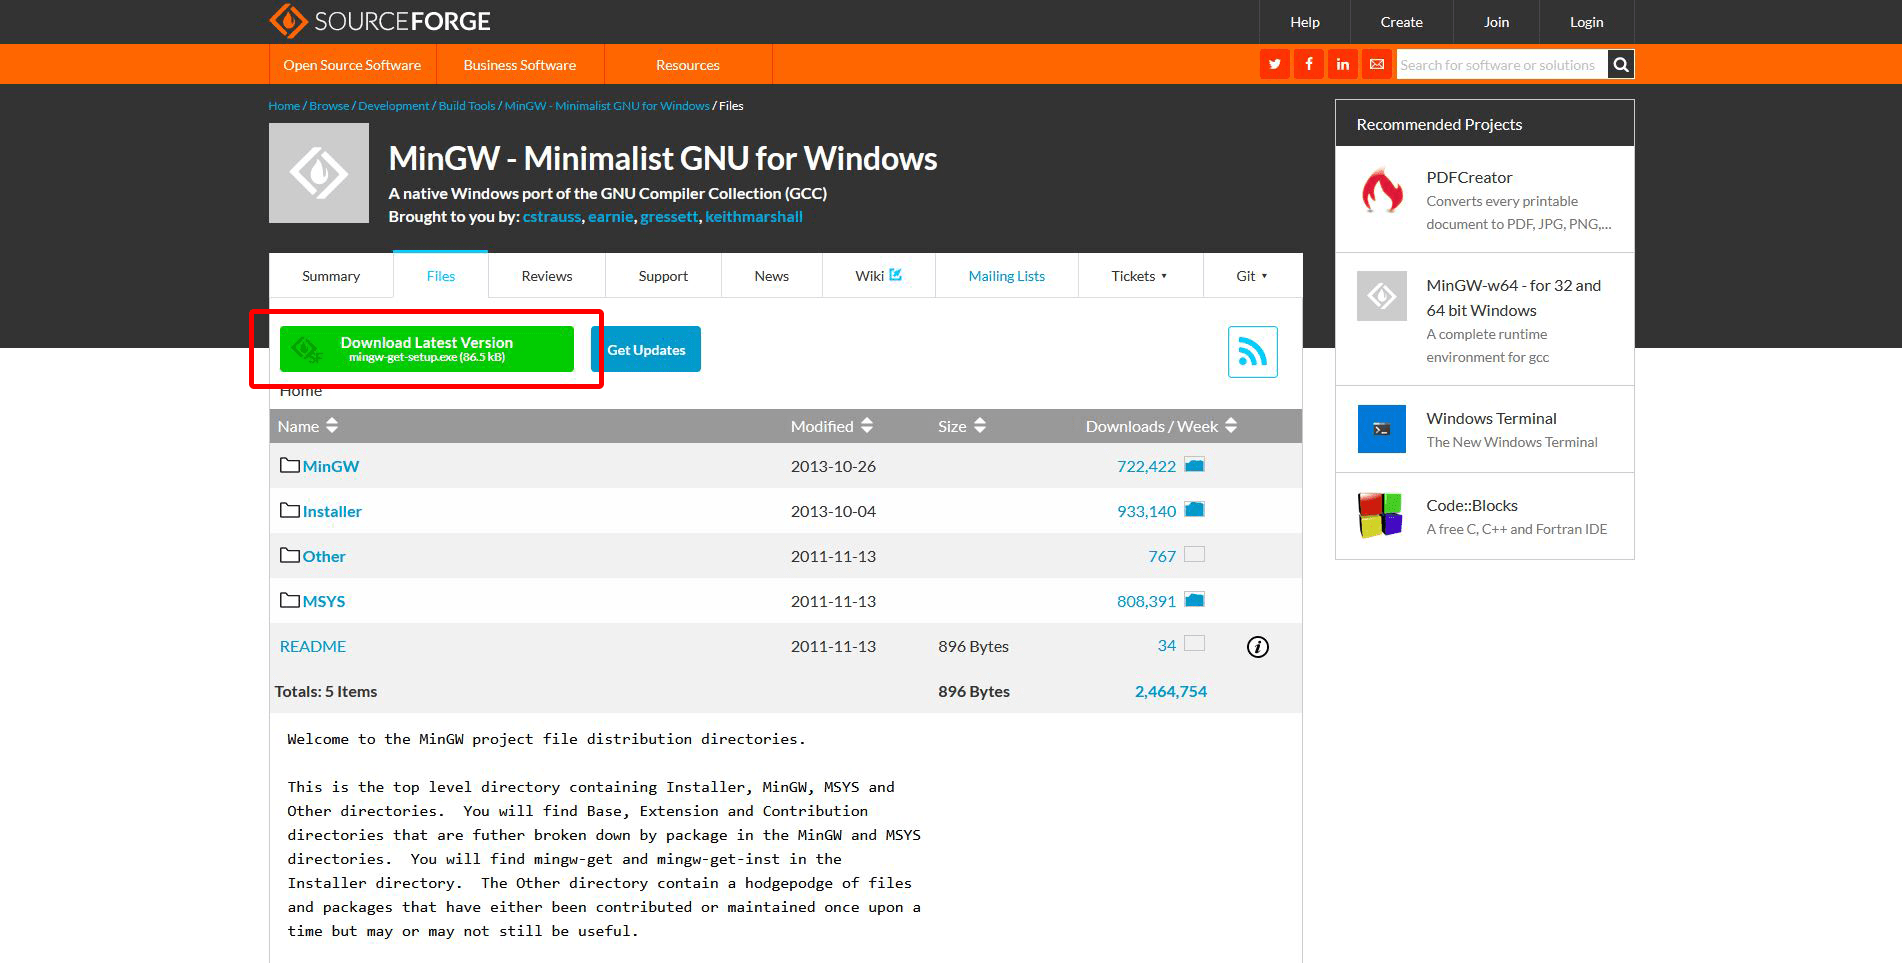
Download the ming-get-setup.exe from SourceForge here.
The following page will appear in your browser (from the SourceForge web site).
2. Run the mingw-get-setup.exe
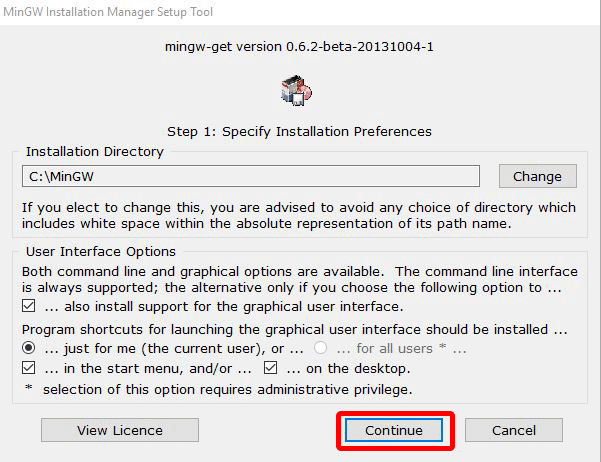
2.1 Click Install

2.2 Change the Settings
Most people should be fine with the default settings, but you can change them if you know what you're doing ;)
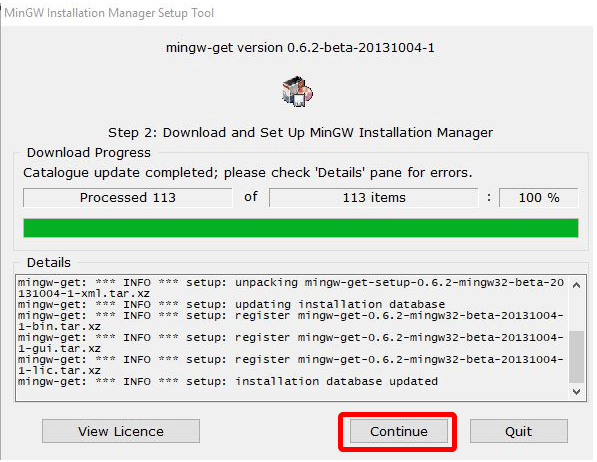
2.3 Wait for the Download to finish
3. Mark Packages for Installtion
Most people will only need mingw32-base, mingw32-gcc-g++, mingw32-gcc-objc and msys-base but once again - if you know what you are doing you could install all the other ones too.
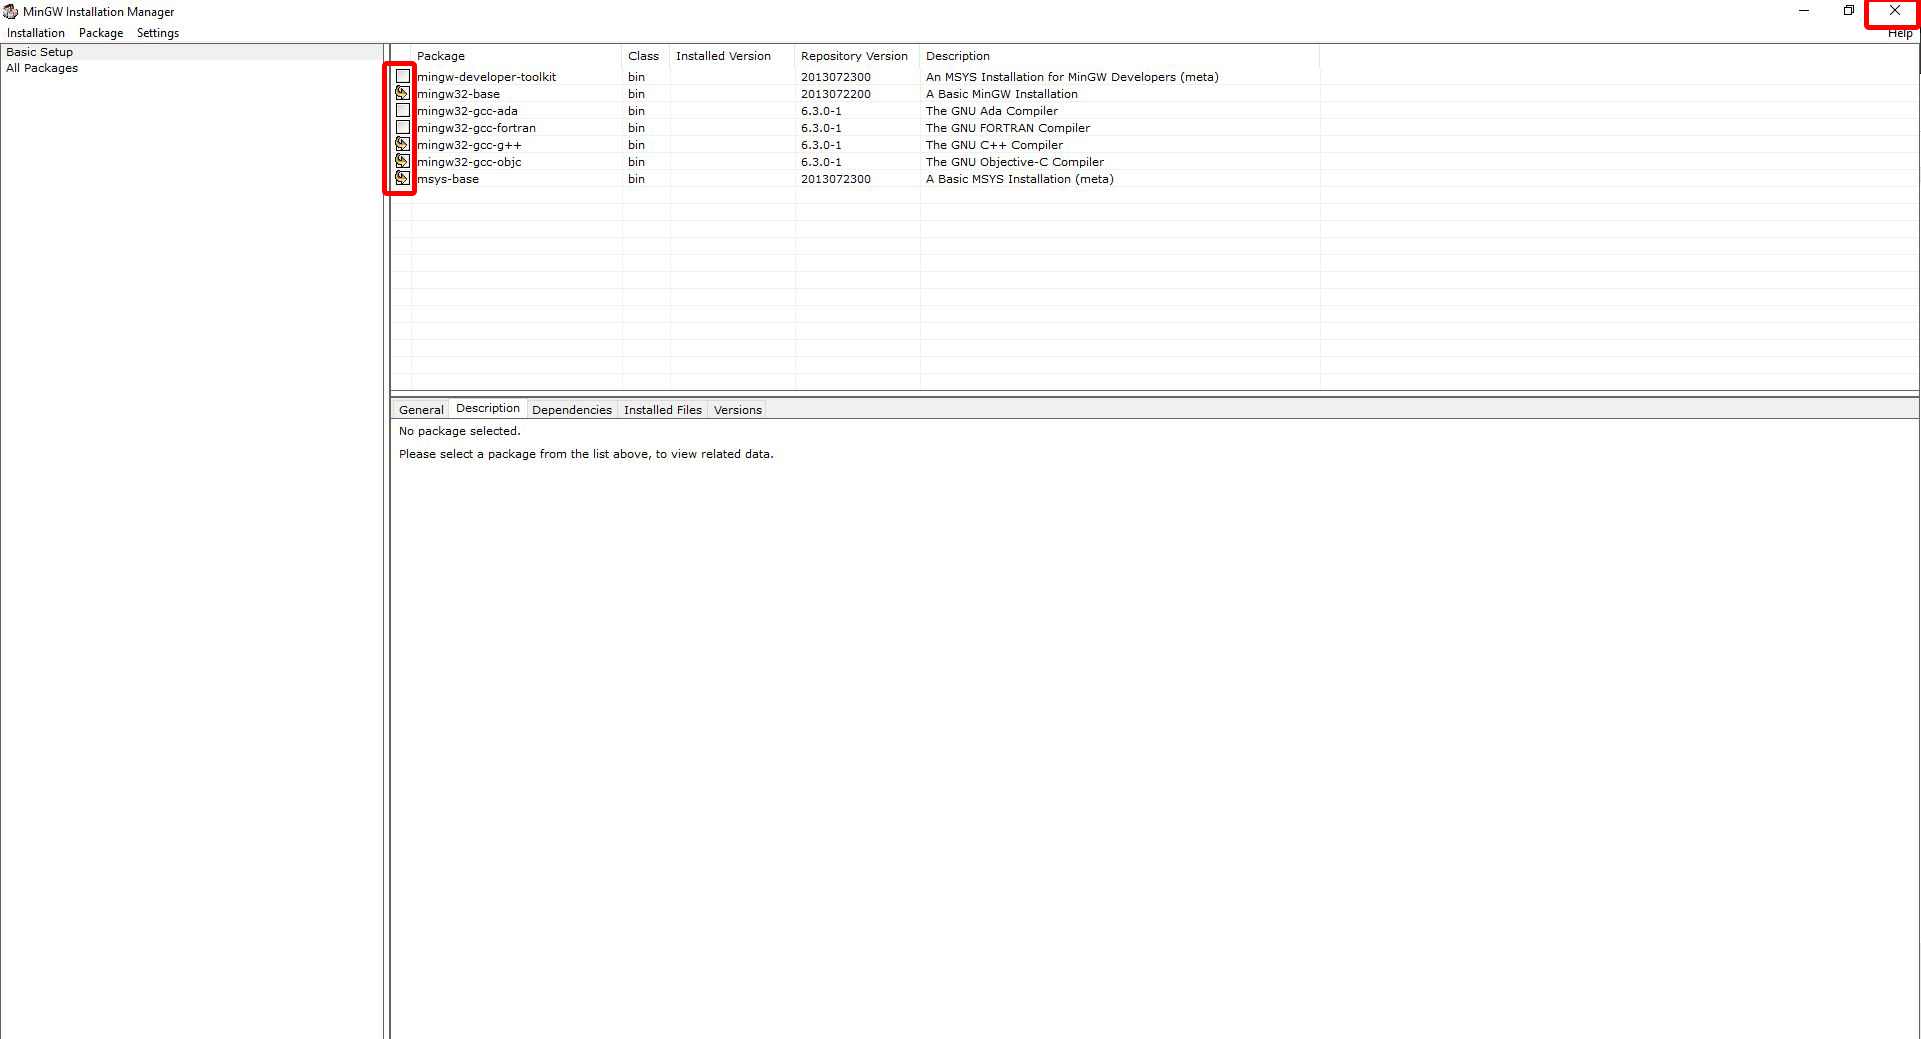
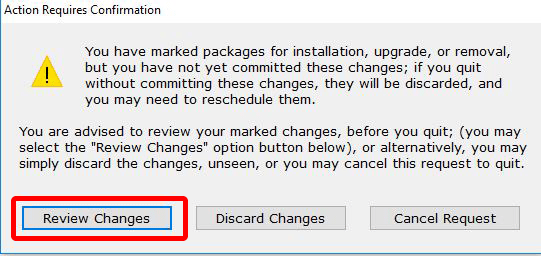
4. Terminate (click X) the MinGW Installation
I know this sounds weird but after clicking X this window will appear in which you will have to choose “Review Changes”.
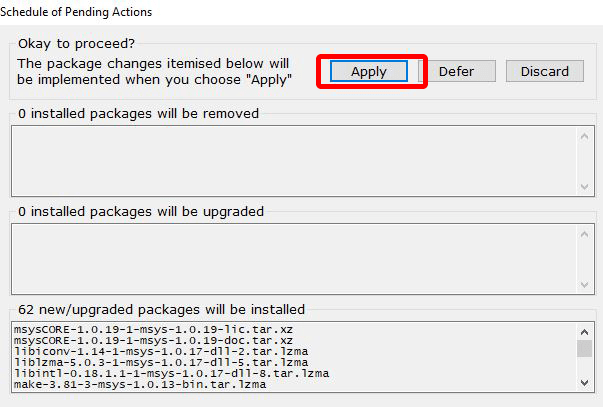
5. Click “Apply”
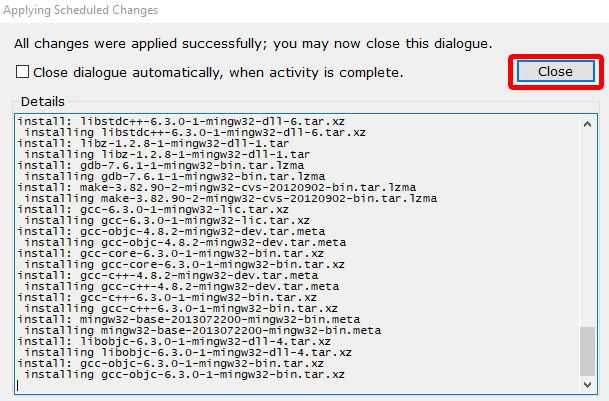
5.2 wait for the Download to finish

6. Click “Close”
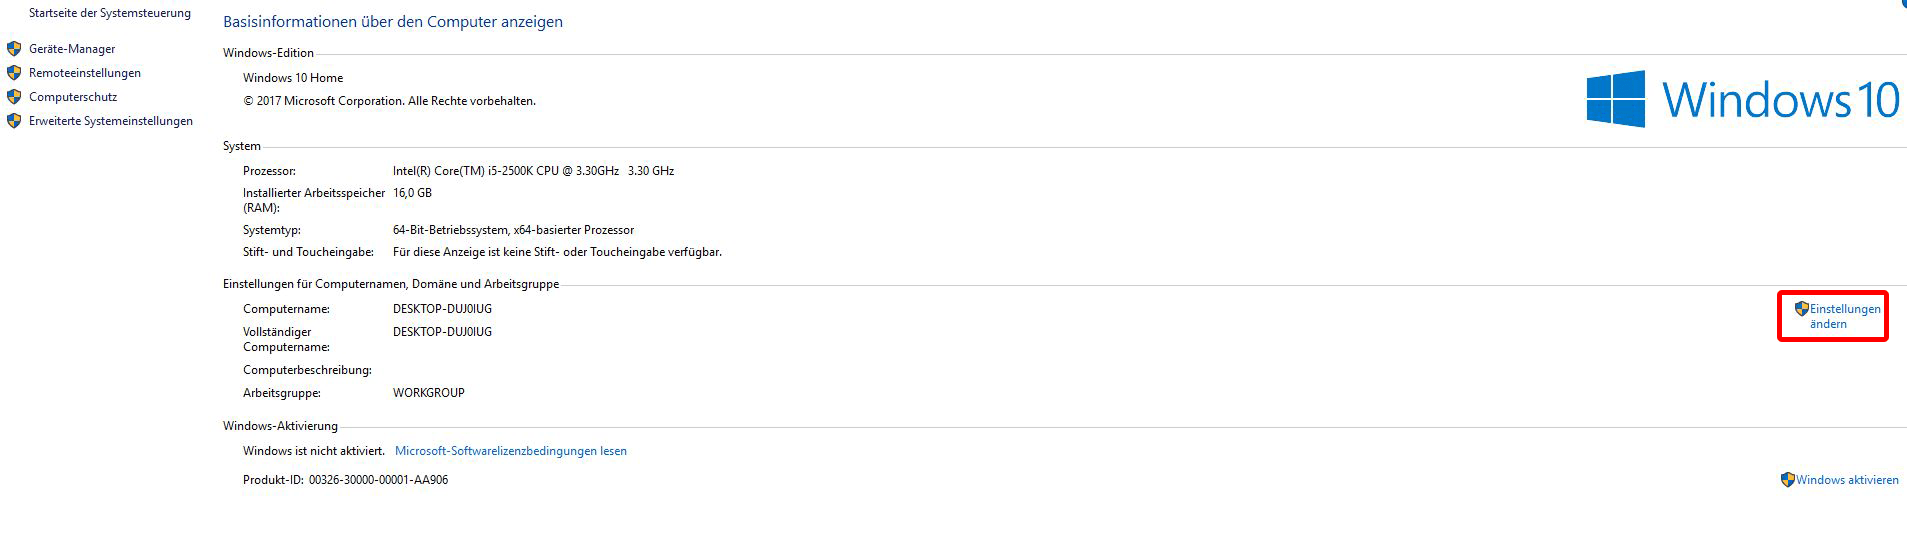
7. Open the Environment Variables
7.1 Open Explorer
Right click on “This PC” and choose “Properties” (My Windows is in German, but the Position should give it away)

7.2 Click “Change Settings”
(Once again, my Windows is in German, but the position should give it away)
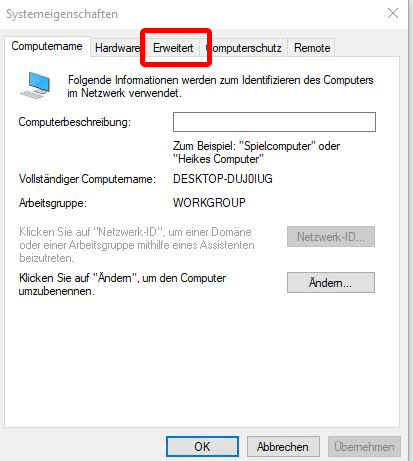
7.3 Click “Advanced”
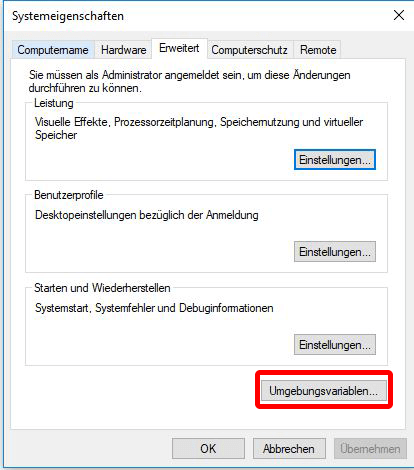
7.4 Click “Environment Variables”
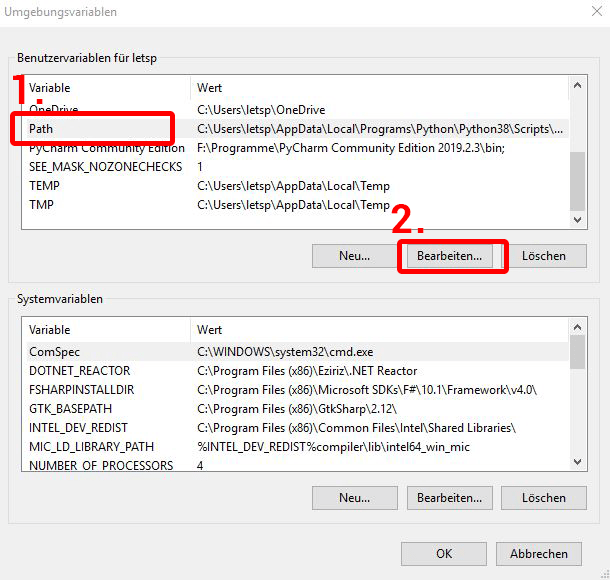
8. Choose “Path” and click “Edit”
9. Click “Edit Text”
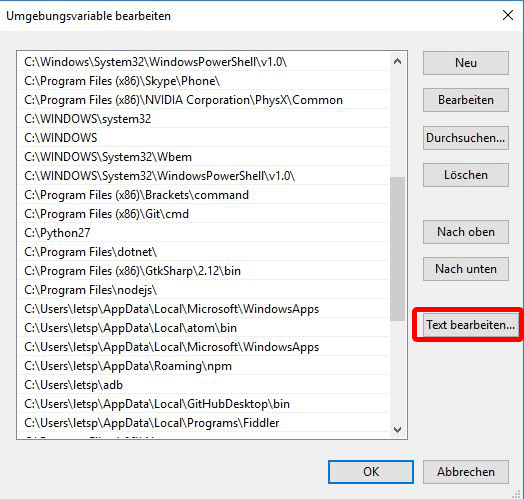
10. Add New Paths
Add C:\MinGW\bin;C:\MinGW\msys\1.0\bin; to at the end of whatever is already there:
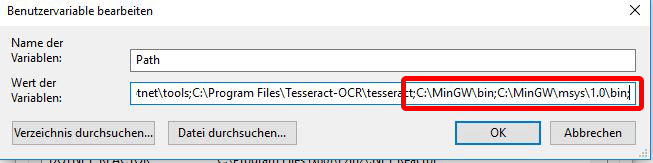
11. Click “OK” on all windows
Make sure to just click "OK" and not "Cancel" or otherwise the new Paths will not be saved
12. Check if it works
Open a command Prompt and type in gcc --version. If you did everything right it should look like this:
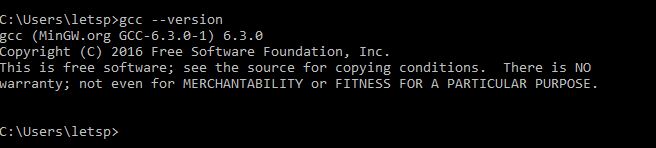
(If not repeat the steps above)